
Roof heat cables are installed by experienced heat tape contractors, commonly roofing professionals or electrical contractors familiar with heat-trace systems. The right installer understands how cable placement affects roof edges, gutters, and downspouts.
Choosing an experienced professional matters because a poorly placed cable can leave meltwater without a clear drainage path. This guide explains how heat tape contractors plan roof heat cable installation, route cables through gutters and downspouts, and account for electricity use, so you know what to consider before winter.
Key Takeaways
- Roof heat cable installation calls for a professional who understands roof conditions, cable systems, and safe placement.
- Learn how ice dams form and how a planned heat path can help keep meltwater moving off the roof.
- See how cable routing through roof edges, gutters, and downspouts supports drainage in winter.
- Understand which factors affect electricity use, and when Utah Heat Cable’s heat cable and de-icing solutions may fit your property.
Who Installs Roof Heat Cables?
Roofing professionals and electrical contractors familiar with heat-trace systems install roof heat cables. Their placement can help keep meltwater moving and reduce ice dam risks.
Contractor Qualifications and Permits
Choose an installer experienced with roofing, cable placement, and electrical connections. A licensed electrical contractor can handle the electrical work and identify applicable requirements for the project; for property owners in Ontario, licensed providers such as Satrack Electric can help ensure circuits and exterior connections meet regional electrical safety standards. Ask about experience with the roof type and the cable system being considered. Installation costs depend on factors such as roofline length, access, cable routing, system type, and electrical work; a project-specific quote accounts for the scope.
Installation Services and Preparation
Contractors assess roof edges, gutters, downspouts, and the electrical supply, then plan a cable route that supports drainage. Ice dams form when roof heat melts snow and runoff refreezes at colder eaves. Trapped water can work beneath shingles and lead to water damage. Installation time depends on the roof layout, cable length, access, and electrical requirements. Before the assessment, clear access around the home and point out where ice dams or icicles form. Include cable condition and drainage paths in annual preventative maintenance planning; for broader seasonal protection of indoor pipes and climate systems, teams like Flow Heating, Cooling & Plumbing Services offer comprehensive winter maintenance.
Questions Before Hiring
Ask how the installer will protect shingles and gutters, route cables, and test the completed system. Clarify who handles electrical connections and identifies applicable permits or code requirements. Discuss the installation schedule, site preparation, and factors affecting the project quote. Heat cables can pose risks if damaged or poorly installed, while roof work also carries fall hazards. A careful installation plan addresses cable condition, secure placement, and safe access. Ask how the proposed layout targets recurring ice dams and icicles.
Heat cable placement in gutters and downspouts
Correct routing creates a continuous path for melting snow to drain instead of refreezing at the roof edge. The installer measures the roofline, eaves, gutters, and downspouts to plan cable coverage for the property.
At the eaves, roof heating cables commonly follow a zigzag pattern, extending from the roof edge partly into the gutter. The route continues through the gutter and downspout to help keep water moving. Clips secure the cable, so placement matters: it should follow the planned route without being pinched or pulled out of position, and attachments should avoid damaging the roof or gutters.
“Heat tape” and “heat cable” are commonly used terms for roof de-icing wires, but product designs differ. Self-regulating cables adjust their heat output to outdoor temperature, while constant wattage cables produce consistent heat when switched on. The right option depends on the application, roof shape, and drainage route.
Heated gutters concentrate heating in the drainage channel and generally cost less to install than roof heating cables. Roof cables can provide more customizable heat along roof edges, but require more material and labor. For Utah properties, the right layout depends on where ice forms and how runoff needs to travel, not on a one-size-fits-all approach.
For a tailored route through your eaves, gutters, and downspouts, request a heat cable installation assessment.
Electricity use and operating costs
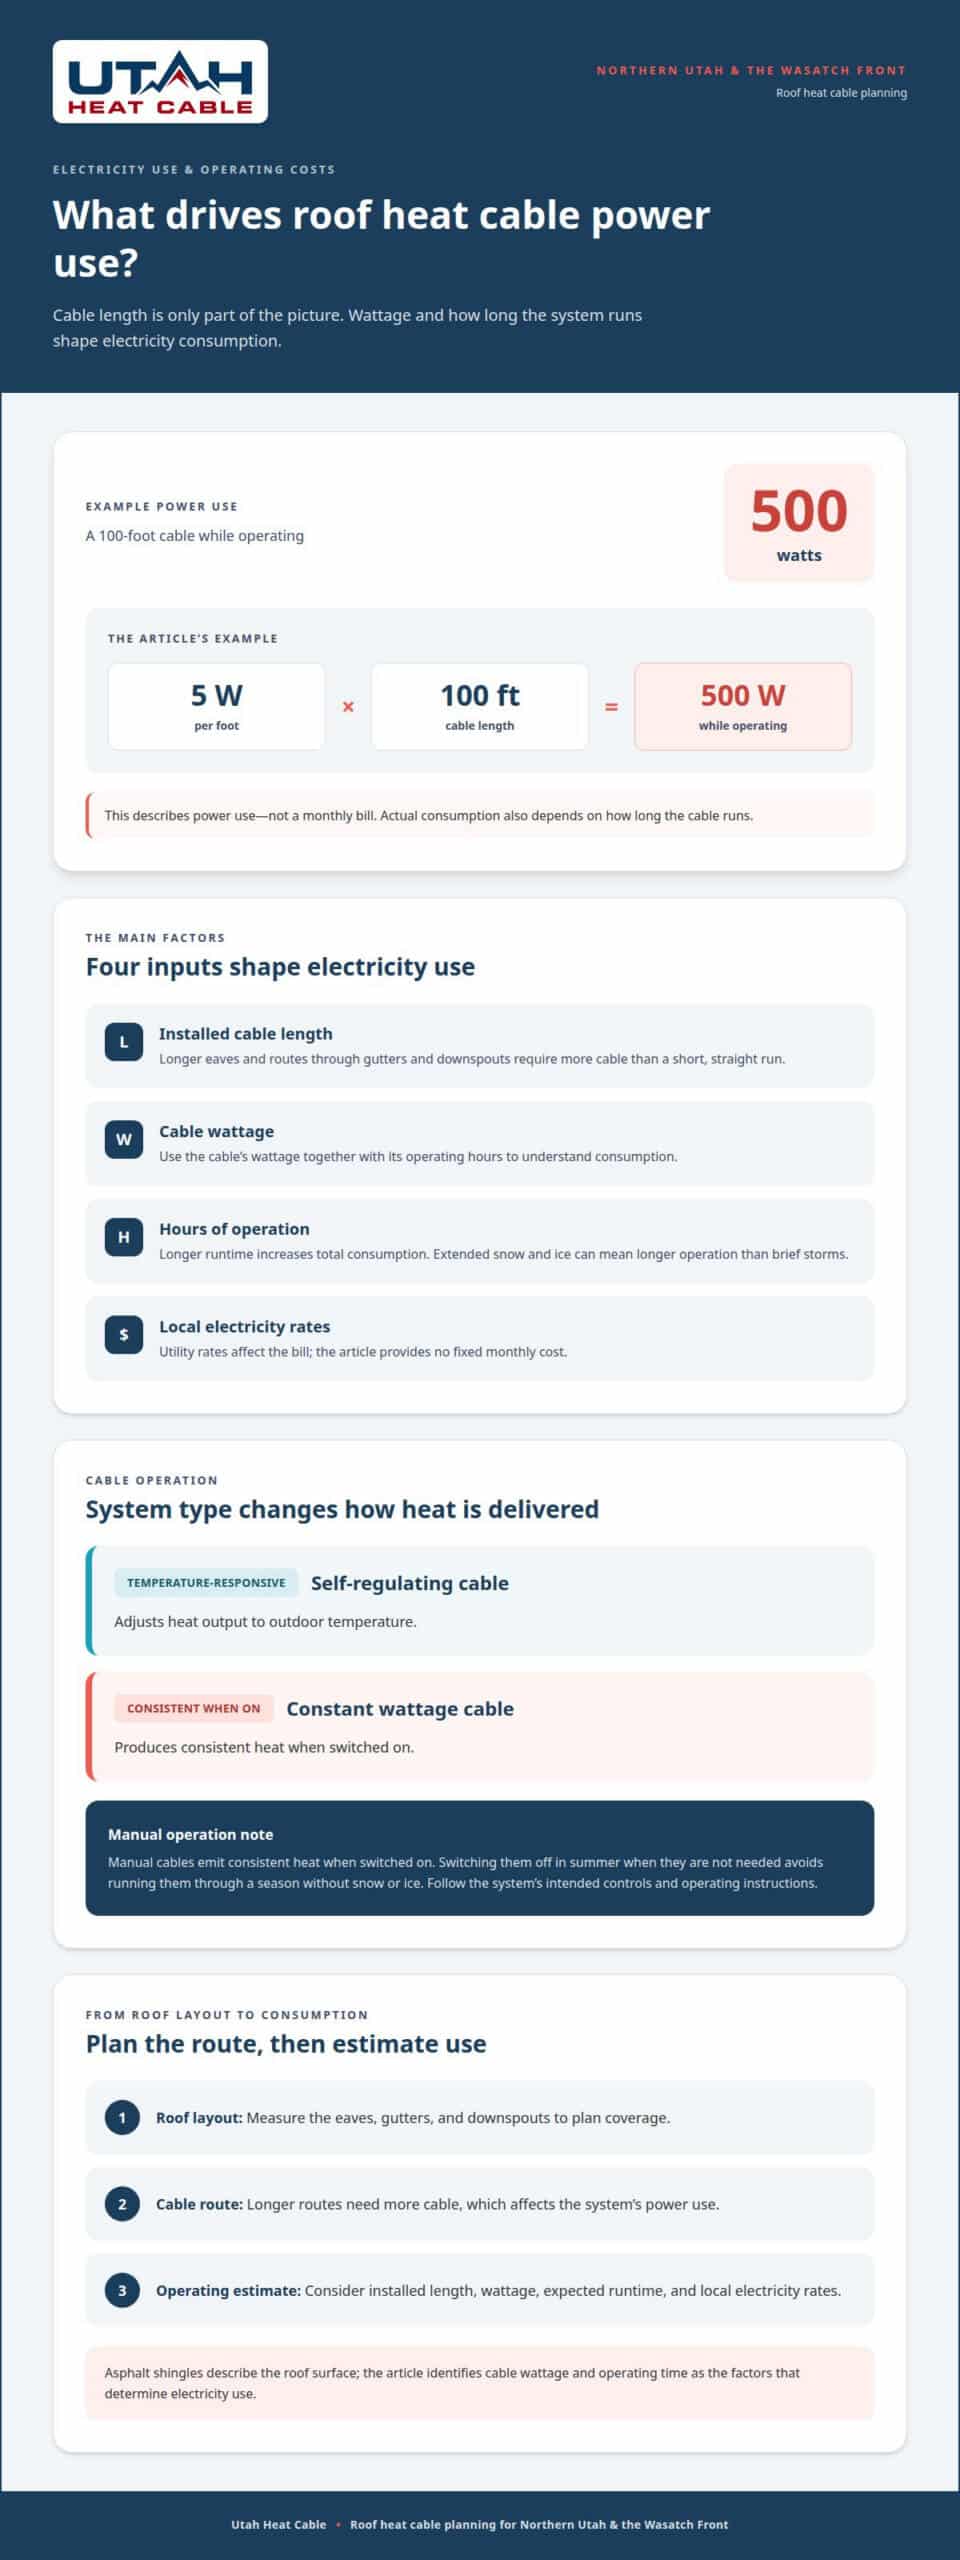
Electricity use depends on cable length, wattage, operating hours, and the system type. A typical roof heating cable uses 5 watts per foot, regardless of outside temperature. For example, a 100-foot cable uses 500 watts per hour while operating. That figure describes power use, not a monthly bill; actual consumption also depends on how long the cable runs.
The total varies with runtime and local electricity rates. Winter conditions matter: extended periods of snow and ice can mean longer operation than brief storms. A reliable estimate starts with the installed cable length and expected use, rather than cable length alone.
Cable design also affects operation. Self-regulating heating cables adjust heat output to outdoor temperature, while manual cables emit consistent heat when switched on. With manual cable, switching it off in summer when it isn’t needed avoids running it through a season without snow or ice. Follow the system’s intended controls and operating instructions.
Roof layout influences the length required. A longer eave or a route continuing through gutters and downspouts needs more cable than a short, straight run. Asphalt shingles describe the roof surface, but the cable’s wattage and operating time determine electricity use. Use the cable’s wattage and the hours it runs to understand consumption; utility rates then affect the bill. Proper placement also helps protect the roof’s integrity by avoiding careless attachment or routing.
For a project-specific estimate of system needs and electricity use, Request a quote.
Utah Heat Cable
Utah Heat Cable helps property owners address roof ice risks with heat cable and de-icing solutions designed for the building’s conditions. If recurring ice affects roof edges or drainage, a planned system can help keep meltwater moving and reduce ice dam formation.
The right approach depends on the roof layout, where ice forms, and how water drains. Utah Heat Cable provides Self Regulating Heat Cable and Constant Wattage Heat Cable options, along with De-Icing Services and Roof Snow Retention. These solutions serve different needs, from managing roof-edge ice to helping control snow movement. For properties across Northern Utah and the Wasatch Front, the team can shape a heat-trace plan around the site and its winter challenges.
Contact Utah Heat Cable to discuss your roof’s ice and snow concerns.
Plan Ahead for Winter Roof Protection
Before the next winter storm, turn recurring roof-edge ice concerns into a practical plan. The right system depends on the roof, drainage path, and where ice forms, so a site-specific assessment helps define the next step. Experienced heat tape contractors consider those details when planning cable placement and system operation.
Utah Heat Cable installs Self Regulating Heat Cable and Constant Wattage Heat Cable systems and provides De-Icing Services for different property needs. Request a free consultation and quote to discuss an approach for your home or building and prepare for the season.
Frequently Asked Questions
What happens during heat trace start-up and commissioning?
Commissioning checks that the installed system and its electrical setup are ready to operate. The process can include meg-ohm and resistance-change testing on each circuit, confirming equipment against factory documentation, and reviewing electrical connections, controller settings, supply voltage, and power-line sizing. The installer also completes applicable manufacturer warranty paperwork, creating a record of the system setup.
Why is a site review important before designing a heat trace system?
An onsite review gives the designer measurements and a direct view of the application’s conditions. Roof shapes, drainage routes, exposed pipes, and existing system performance can affect the design. For example, a Utah cabin with recurring roof-edge ice may have different needs from a commercial property with freeze-prone piping. Measurements help tailor the solution to the site.
How much does professional heat tape installation cost?
Professional installation costs depend on the project’s scope, so request a quote for a project-specific price. The design, cable requirements, roof or pipe layout, access, and electrical work all affect the work involved. There is no single figure that applies to every Utah property. A clear description of the areas needing protection helps define the project scope.
How do I find licensed heat tape contractors near me?
For a Utah property, choose a licensed electrical contractor with heat-trace installation experience. Utah Heat Cable installs systems for residential, commercial, industrial, and HOA properties throughout Utah. If you have roof ice, frozen-pipe concerns, or snow-melt needs, describe the property type and affected area when requesting a free consultation and quote.
How do heat tape contractors assess roofs, gutters, and pipes?
Contractors review the application, take measurements, and assess existing equipment and system performance. On a roof, that can mean documenting eaves, gutters, and downspout routes; for pipes, the review focuses on the heat-trace application and its conditions. An assessment may also cover sidewalks, driveways, vessels, or instruments when those areas need freeze protection or snow melting.