
The right cable length is the combined length of the roof and drainage routes that need protection, including selected roof edges, valleys, gutters, and downspouts. For a mountain home’s roof de-icing system, map and measure each route instead of estimating from floor area. Roof-edge cable can also be combined with heat-trace cable in gutters and downspouts.
Start with the cable route: coverage depends on the roof layout and where meltwater needs a clear path. This guide explains how to measure those routes, how ice dams form and damage property, and how systems can differ for residential and commercial buildings. It also covers why heat loss and drainage matter alongside de-icing equipment, helping you assess what your building needs.
Key Takeaways
- Map the roof edges, valleys, gutters, and downspouts that need protection, then measure each run to estimate cable length.
- Look beyond frozen gutters: heat escaping into the attic and blocked drainage can contribute to ice dams and water damage.
- Compare targeted eave or valley coverage with broader roof systems, considering the building’s layout and appearance.
- Plan de-icing alongside practical property needs, such as snow retention or keeping sidewalks and driveways clear.
How do I estimate the roof and gutter deicing cable length needed?
Estimate cable by measuring each roof and drainage route that needs a clear path for meltwater. The roof layout, recurring ice-dam locations, and gutter routes determine the total.
Measuring Roof Edges and Gutters
Sketch the roof, then measure the eaves, valleys, gutters, and downspouts you want to protect. Add the measurements to estimate the route length, rather than using floor area as a substitute. If you’re considering a DIY kit, compare the route with its installation instructions, since the cable layout determines the amount needed. Include downspouts where water needs to keep flowing.
Leaves and debris in gutters can block runoff and contribute to ice-dam formation. Clear gutters before winter, and check for loose spikes that could interfere with a secure cable layout.
Combining Roof-Edge and Gutter Heating
Roof-edge heating can help maintain a drainage route where snow melts and refreezes near the eaves. Heat-trace cable can also run through roof valleys, gutters, and downspouts. Treating these connected areas helps carry meltwater from the roof toward the drain, rather than heating the gutter alone.
Roof de-icing systems help manage meltwater routes. Insulation and ventilation address heat escaping into the attic, while ice-and-water shield helps protect vulnerable roof areas from water intrusion. In heavy snow and freezing mountain weather, cable can support drainage, but it does not remove accumulated snow or correct heat loss.
Permit and electrical requirements vary by location and installation. Choose suitable cable and follow the installation instructions, since improper placement or electrical connections can create hazards. Installation can also affect shingles or gutters if the cable is secured incorrectly, so account for the roof material and gutter condition.
Inspect the roof and gutters in spring and fall, and clear debris before winter. Regular checks can reveal damage or loose gutter spikes before the cable is needed.
How ice dams form and cause roof and gutter damage
Ice dams develop when roof temperatures differ, leaving meltwater trapped above colder eaves. The resulting backup can damage roofing, gutters, ceilings, and walls.
Ice Dam Formation Near Gutters
Heat escaping from living areas can warm the attic and melt the bottom layer of roof snow. Ice dams can form when upper roof surfaces stay above 32 degrees F while lower surfaces remain below freezing. Meltwater then refreezes near the gutters, creating a barrier that blocks drainage. Leaves and debris can obstruct gutters and contribute to ice forming. Clear gutters and downspouts so runoff has an open path.
Water Damage from Ice Dams
When an ice dam blocks drainage, water can back up beneath the roofing and leak into the attic. Moisture can then damage ceilings and walls, and damp materials can support mold and mildew growth associated with respiratory problems. Dry wet areas promptly. After a leak, look for staining, damp insulation, or peeling finishes. Better attic insulation, sealed air leaks, and maintained roof ventilation address underlying heat-loss conditions.
Snow and ice also add weight to roof framing. Accumulated snow and ice can place significant weight on roof framing, so loads deserve attention. If you’re unsure whether a roof can carry additional snow, a professional engineer can evaluate its strength. Avoid winter roof work that risks injury or damage to roofing materials.
Prevention combines clear drainage with reduced heat loss. Understanding how these measures work together helps you plan roof ice prevention.
Residential and commercial roof de-icing
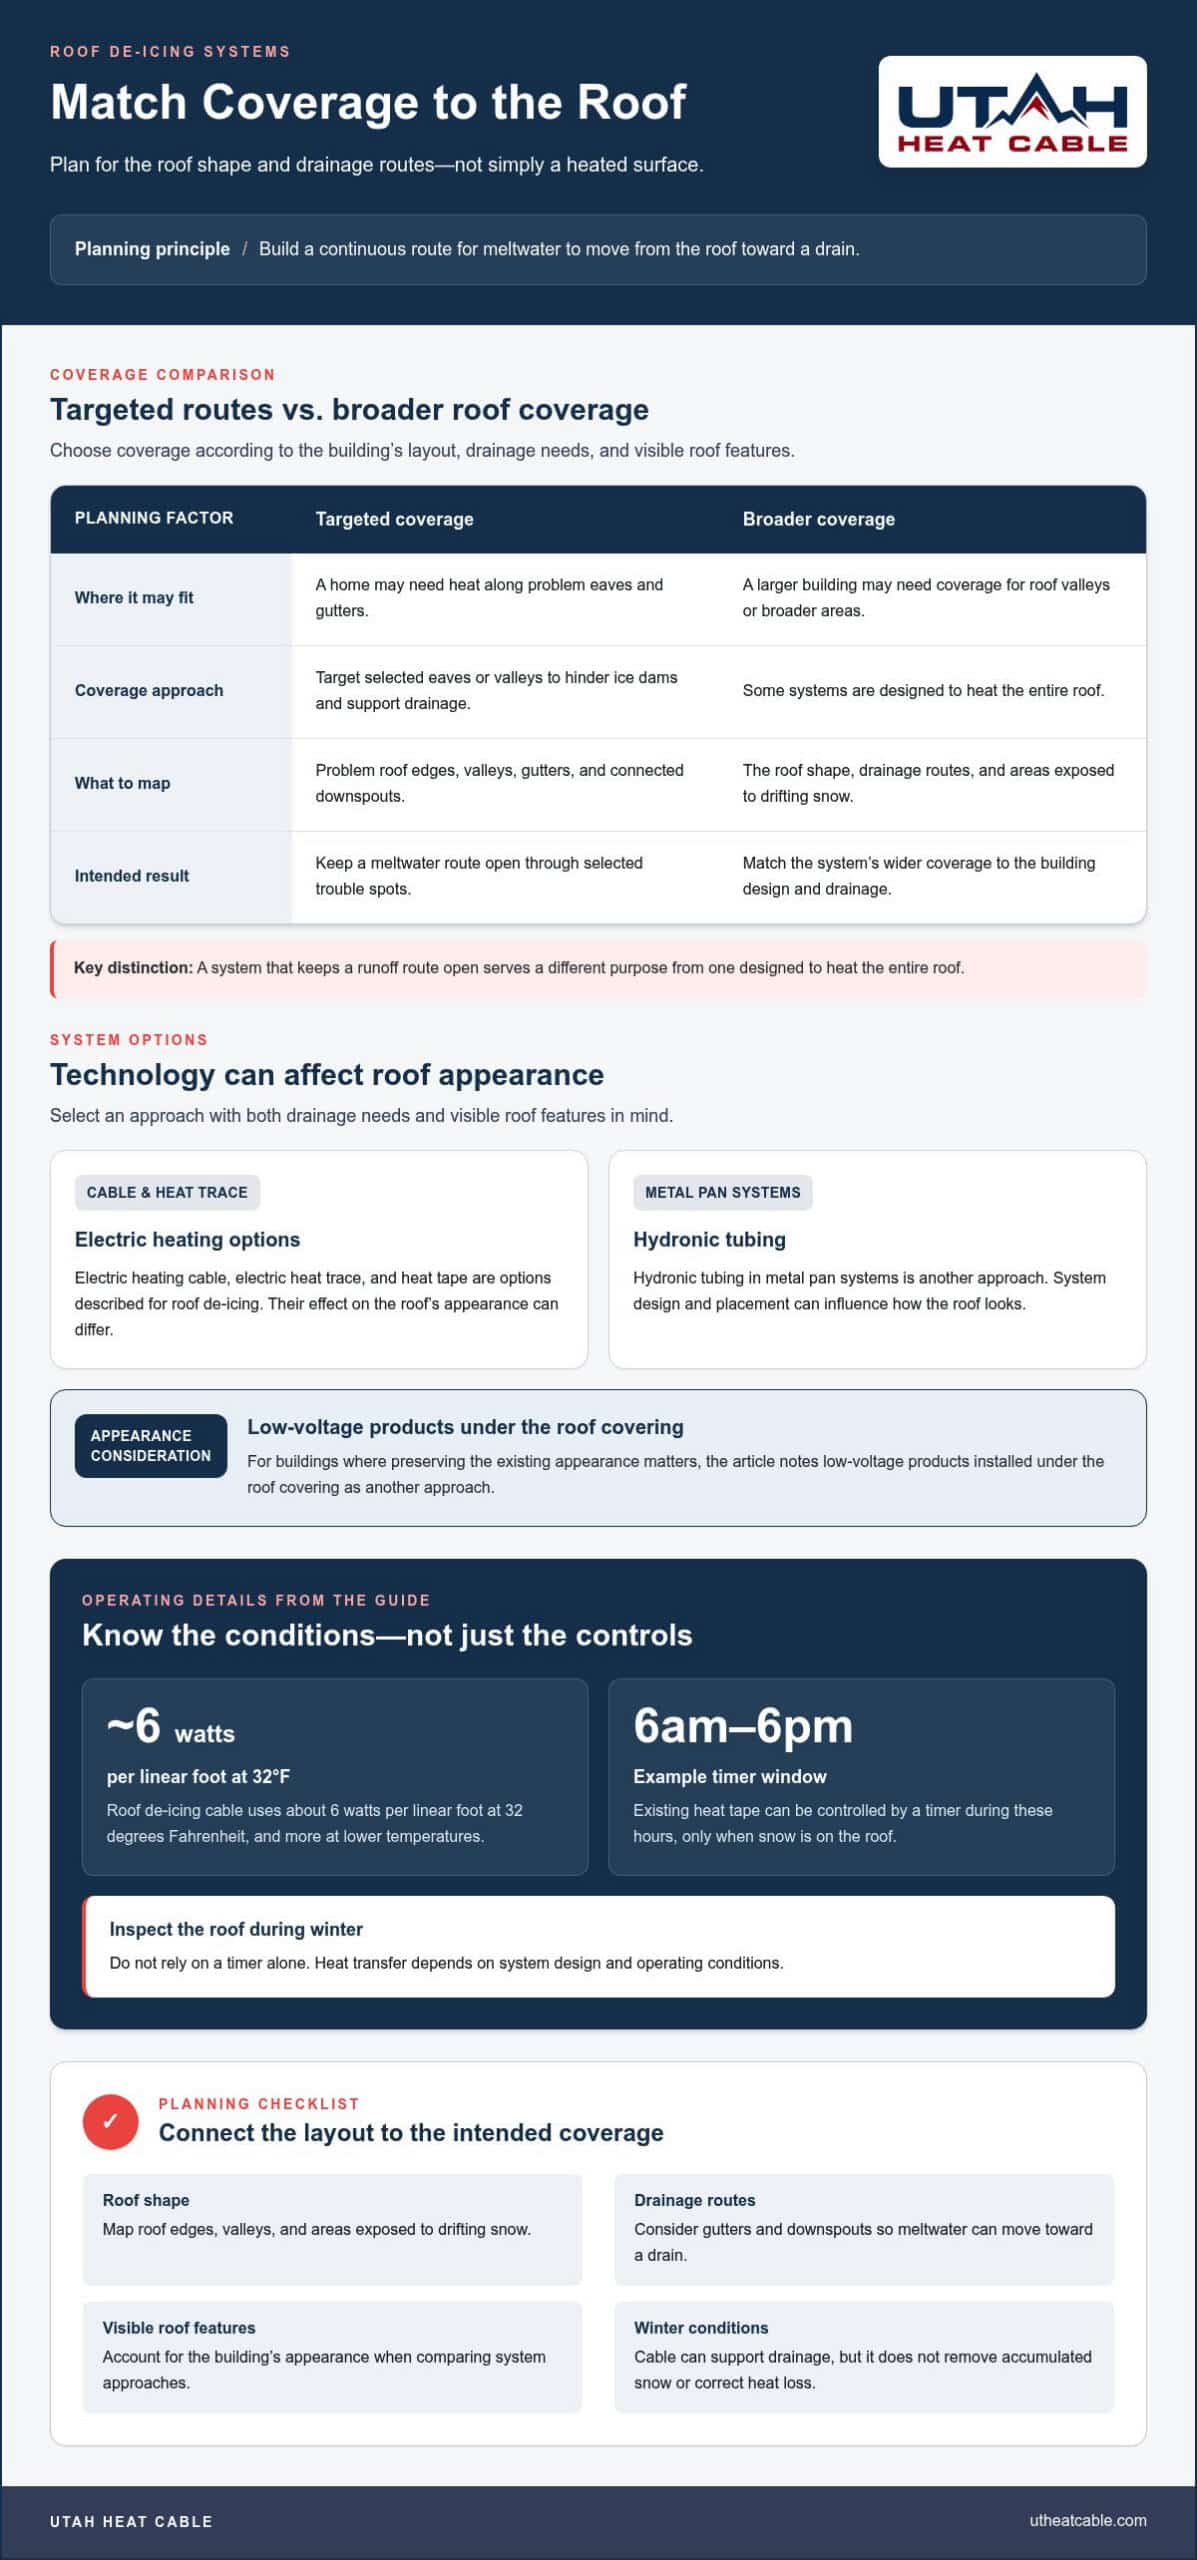
Residential and commercial systems should match the roof shape, drainage routes, and areas exposed to drifting snow. A home may need heat along problem eaves and gutters, while a larger building may need coverage for roof valleys or broader areas. The goal is a continuous route for meltwater, not simply a heated surface.
Some systems target eaves or valleys to hinder ice dams; others are designed to heat the entire roof. Electric heating cable, electric heat trace, heat tape, and hydronic tubing in metal pan systems can each affect the roof’s appearance differently. For buildings where preserving the existing appearance matters, low-voltage products installed under the roof covering offer another approach. Choose coverage based on drainage needs and visible roof features.
Heat transfer also depends on system design and operating conditions. Roof de-icing cable uses about 6 watts per linear foot at 32 degrees Fahrenheit, and more at lower temperatures. Existing heat tape can be controlled with a timer from 6am to 6pm, only when snow is on the roof. Inspect the roof during winter rather than relying on a timer alone.
For a home or commercial property, match snow-melting technology to the building design and drainage. A system that keeps a runoff route open serves a different purpose from one designed to heat the entire roof. Review the layout and intended coverage before choosing an approach.
Explore roof de-icing services to plan a system around your property’s roof and drainage needs.
Utah Heat Cable: De-Icing Services
Utah Heat Cable provides De-Icing Services for property owners preparing for winter or dealing with recurring ice concerns. If your measurements identify vulnerable roof edges, valleys, gutters, or downspouts, a de-icing system can help manage meltwater. Roof Snow Retention, Controller Options, and Sidewalk and Driveway Deicing Systems can also address related snow and ice concerns around the property.
Bring your roof layout, drainage routes, and the areas where ice tends to collect into the planning discussion. Those details help connect the system to the building’s conditions and intended coverage. To explore the available de-icing services and systems, visit Utah Heat Cable.
Prepare Your Roof Before the Next Winter
Use your roof layout and recurring ice trouble spots to begin a focused plan, then consider how the system will suit the building’s use and appearance. The right mountain home roof de-icing systems start with matching cable type and coverage to the property, rather than treating every roof alike.
Utah Heat Cable offers Self Regulating Heat Cable, Constant Wattage Heat Cable, and De-Icing Services. These options provide a starting point for planning around your roof and drainage needs. A clear plan helps you move from measurements to a solution suited to your home or business before ice forms.
Explore Utah Heat Cable’s de-icing options and take the next step toward a more prepared property.
Frequently Asked Questions
What are Roof De-icing Systems?
Roof de-icing systems use installed heating components to help keep selected roof and drainage areas clear of ice. They support meltwater flow, but do not heat indoor rooms or remove all accumulated snow. At a mountain property, coverage can focus on vulnerable roof sections and water routes, with the layout matched to the roof materials and drainage design.
What are my Roof Heating Options?
Options include self-regulating and constant-wattage heat cable, roof-edge panels, and hydronic tubing in metal pan systems. Self-regulating heat cable is available in 120 V and 240 V configurations for metal, shingle, wood-shake, and listed membrane roofs. Constant Wattage Heat Cable is 120 V and designed for shingle roofs. The roof material and desired coverage shape the choice.
What causes ice dams?
Uneven roof temperatures can start the process: heat escaping from living spaces warms parts of the roof and melts snow, while colder eaves remain frozen. Attic air leaks can contribute, as can blocked drainage. For example, gutter debris can obstruct runoff even as snow melts. Sealing attic air leaks and keeping drainage clear address these contributing conditions.
What is an ice dam?
An ice dam is a ridge of ice near a roof’s lower edge that blocks meltwater drainage. Water can collect behind it and work beneath roof coverings, potentially reaching the attic or interior walls. Unlike a simple icicle, the concern is the barrier and trapped water, not just visible hanging ice.
How do roof de-icing systems work for mountain homes?
Mountain home roof de-icing systems use heat along selected roof areas to help maintain a drainage path through winter. A controller can operate the system with a switch, temperature setting, or temperature-and-moisture sensor. For homes in Utah, Idaho, and Wyoming, roof shape, snow exposure, and the route from the eaves through downspouts all inform the system layout.